
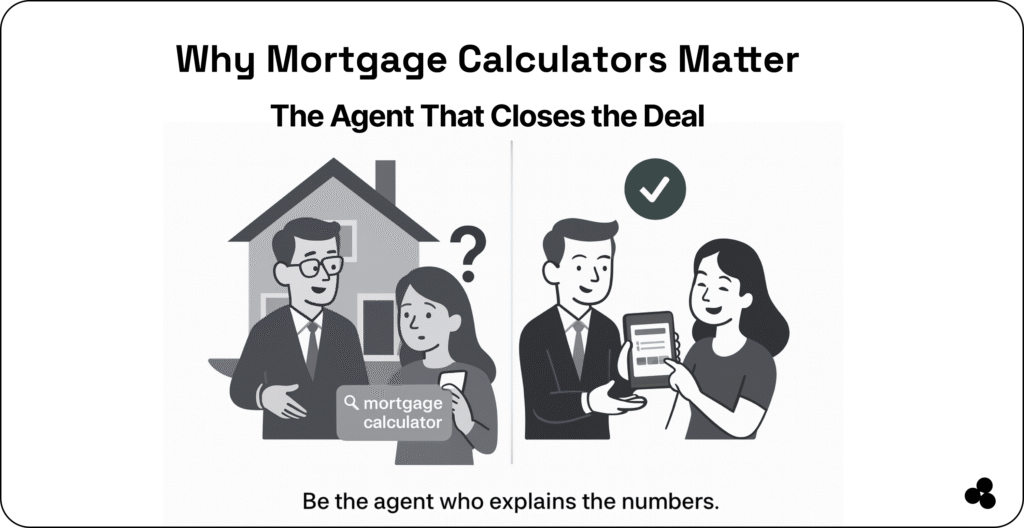
If you’ve ever searched for a home, refinanced, or experimented with loan numbers, you probably know how valuable a mortgage calculator tool can be.
These simple tools help users understand monthly payments, interest costs, and how long-term home loans work.
But what if you could build your own mortgage calculator tool customized for your website, your app, or your clients?
Whether you’re a developer, creator, or business owner, building a mortgage calculator is easier than you think… and it might even boost your traffic, conversions, or user engagement.
Let’s dive into everything you need to know, including formulas, UX tips, examples, SEO insights, and pro tricks.
What Is a Mortgage Calculator?
A mortgage calculator is a simple tool that estimates:
- Monthly payments
- Total interest
- Amortization
- Loan duration
- Down payment impact
- Cost difference between rates
It’s one of the most-searched home-finance tools online, which is why adding one to your website or app can increase search traffic dramatically.
👉 If you want instant examples of helpful calculators, browse the library here.
💬 What information should a mortgage calculator ask for?
A good calculator typically requires:
- Loan amount
- Interest rate
- Loan term
- Down payment
- Property tax (optional)
- Insurance (optional)
👉 The simpler the form, the higher the conversions.
How to Build a Clean, Mobile-Friendly Mortgage Calculator Tool in One Day
Step 1: Choose Your Tech (Or Use a No-Code Builder)
You have several paths depending on your skill level:
Option A: Build from Scratch (JavaScript)
Great for complete control, custom UI, or embedding in an existing product.
Option B: Use a No-Code Builder
If you want a fast, professional result without coding, try our creator app, perfect for building tools, widgets, calculators, and app-like experiences without writing a line of code.
Option C: Embed Into a Larger App
Mortgage calculators pair amazingly with:
- Real estate tools
- Financial planning apps
- Budget planners 👉 Read our article on budget planner apps.
Step 2: Understand the Core Formula
Here’s the standard mortgage payment formula (PMT):
M = P × ( r(1+r)^n ) / ( (1+r)^n – 1 )
Where:
- M = monthly payment
- P = loan principal
- r = monthly interest rate
- n = total number of payments
📄 Tip: Pre-calculate edge cases (0% interest, large down payments, short terms) so your tool never breaks.
💬 What’s the biggest mistake people make when building a calculator?
Most calculators fail because they don’t explain the results clearly. Use labels like:
- “Monthly Payment Breakdown”
- “Here’s What You’ll Pay Over 30 Years”
- “Interest vs Principal”
Clarity = higher conversions.
Step 3: Design a UX That Actually Converts
A mortgage calculator tool isn’t just numbers — it’s an experience. A good one should feel smooth, simple, and helpful.
Keep fields simple
Your user should never feel like they’re filling out a tax return. Start with three essential inputs. Add advanced options below a toggle.
Use instant recalculation
Whenever possible, calculate live as values change.
Add sliders (users love them)
Sliders improve engagement — especially for interest rate and loan amount.
Mobile-first design is mandatory
Most people searching for “mortgage calculator tools” are on their phones.
Need inspiration for a great app UI? 👉 Check out the pros and cons of using Tailwind CSS
Step 4: Add Results Users Understand at a Glance
Your results section should include:
- Monthly Payment: Bold, large, attention-grabbing.
- Interest vs. Principal Chart: A simple bar or donut chart works well.
- Amortization Summary: Not a whole table — just: 1st year interest, 5th year balance, Total paid
- Optional: Amortization Table: Expandable for advanced users.
💬 Should a mortgage calculator include taxes and insurance? Yes, but keep them as optional fields. This improves accuracy without overwhelming beginners.
👉 Worthy Read: 7 Top Real Estate Listing Tools in 2025
Step 5: Add Advanced Features (Optional But Powerful)
Want your calculator to stand out? Add:
- Save/Share Results: People love sharing affordability estimates.
- Compare Two Loan Options: Side-by-side comparisons = more engagement.
- Adjustable Prepayment Options: Allow users to add: Extra monthly payments and annual lump sums. This is a huge traffic booster — few calculators offer it.
- Export to PDF: Great for real estate agents and mortgage brokers.
👉 Speaking of agents, here’s a guide on the best real estate tools for solo agents
Step 6: Embed Your Calculator Anywhere
Whether you built with code or no-code, you should be able to:
- Embed it on a blog
- Add it to landing pages
- Integrate inside an app
- Share as a standalone tool
👉 If you’re monetizing your app or tool, here are proven marketing strategies
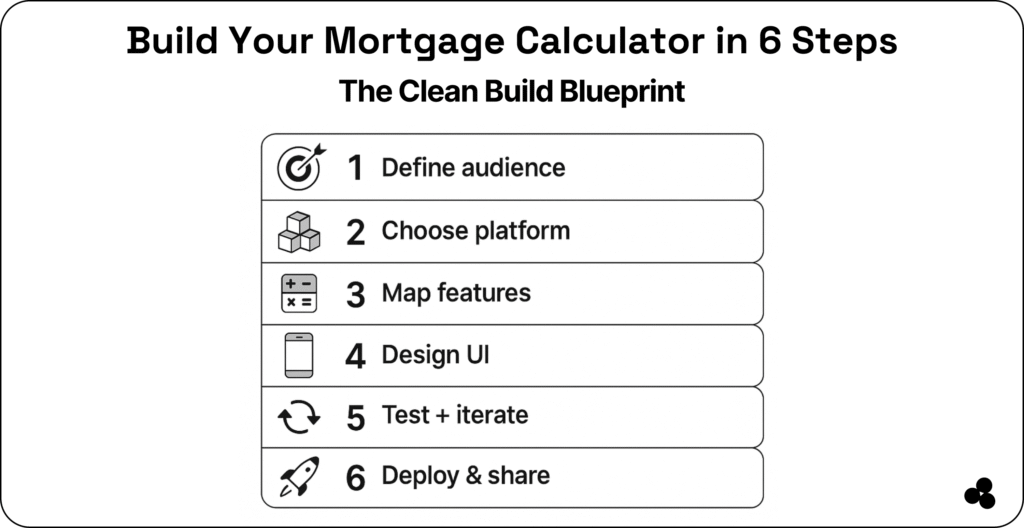
Summary: The Clean Build Blueprint
| Step | Action |
| 1. Define | Clarify your target audience and their needs |
| 2. Choose | Decide between coding or using a no-code builder like Microapp |
| 3. Feature Plan | List inputs, formula logic, and optional add-ons |
| 4. Design | Build a responsive, user-friendly interface |
| 5. Test | Launch your MVP, get feedback, and iterate |
| 6. Deploy | Publish, promote, and monetize your calculator |
👉 Check out this guide on the best open house apps
Test With Real Users
Before publishing, test:
- Slow inputs
- Zero down payment
- Very high loan amounts
- Different device sizes
- Rate changes by decimals
📄 Bonus tip: Record user sessions (via tools like Hotjar) to catch UI pain points.
Practical Example
Let’s run an example for a $400,000 loan:
- Loan: $400,000
- Rate: 5%
- Term: 30 years
- Down payment: 20%
Users should instantly see:
- Monthly payment
- Interest breakdown
- Total lifetime cost
- First 12 months amortization
- Effect of increasing the down payment
The Future of Mortgage Calculator Tools
Mortgage tools have evolved far beyond simple number crunchers. Users now expect:
- Personalization
- Visual breakdowns
- Precise estimations
- Mobile-first UI
- Save/share functionality
The great news? You can build all of this — even without coding — using platforms like:
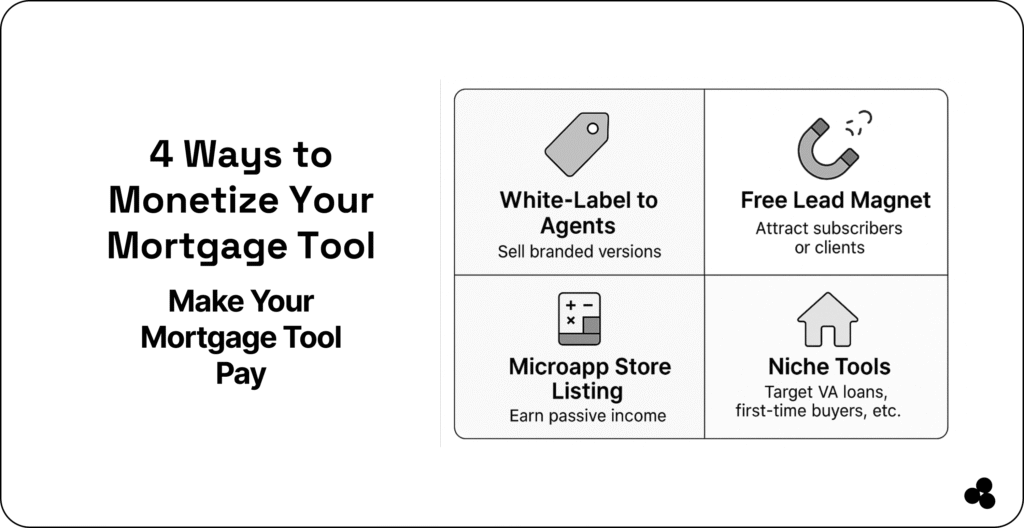
And with the demand for mortgage-related searches rising yearly, adding a high-quality calculator to your site is one of the smartest traffic moves you can make.
Build a Calculator That Goes Beyond Numbers
A mortgage calculator isn’t just a tool, it’s a gateway to helping users make major life decisions.
Whether you’re building it for your app, your real estate website, or as a standalone tool, focus on clarity, speed, and a design that feels friendly and reassuring.
With the right inputs, thoughtful UX, and strong SEO foundations, you’ll have a tool that not only attracts visitors but keeps them coming back, and that’s the real power of a well-built mortgage calculator.